How to Create a Gang Sheet: Step-by-Step Guide
Creating a gang sheet involves placing multiple designs on a single transfer sheet to reduce printing costs and increase efficiency. This guide will walk you through the process step by step, optimized for SEO and ready to be published on your website.
Table of Contents
- What is a Gang Sheet?
- Gang Sheet Creation Platforms
- Step-by-Step Gang Sheet Creation
- Step 1: Choosing a Platform and Creating an Account
- Step 2: Setting the Page Size
- Step 3: Uploading Designs
- Step 4: Arranging the Images
- Step 5: Preview and Edit
- Step 6: Saving and Downloading
- Recommended Design Sizes
- Important Reminders
1. What is a Gang Sheet?
A gang sheet is a printing sheet that contains multiple designs arranged together. This method is particularly useful in DTF (Direct to Film) printing, allowing multiple designs to be printed on a single sheet. Gang sheets reduce costs and speed up the production process.
2. Gang Sheet Creation Platforms
Popular platforms for creating gang sheets include:
- Transfer Print Center: Known for its user-friendly interface and advanced features.
- Canva: Offers various design tools, though not optimized for printing.
- Adobe Illustrator: Provides professional design tools but has a steeper learning curve.
- CorelDRAW: Ideal for vector graphic design and suitable for gang sheet creation.
3. Step-by-Step Gang Sheet Creation
Step 1: Choosing a Platform and Creating an Account
First, select an appropriate platform and create an account. In this guide, we'll use Transfer Print Center.
- Visit the Transfer Print Center website.
- Create a free account or log in to your existing account.
Step 2: Setting the Page Size
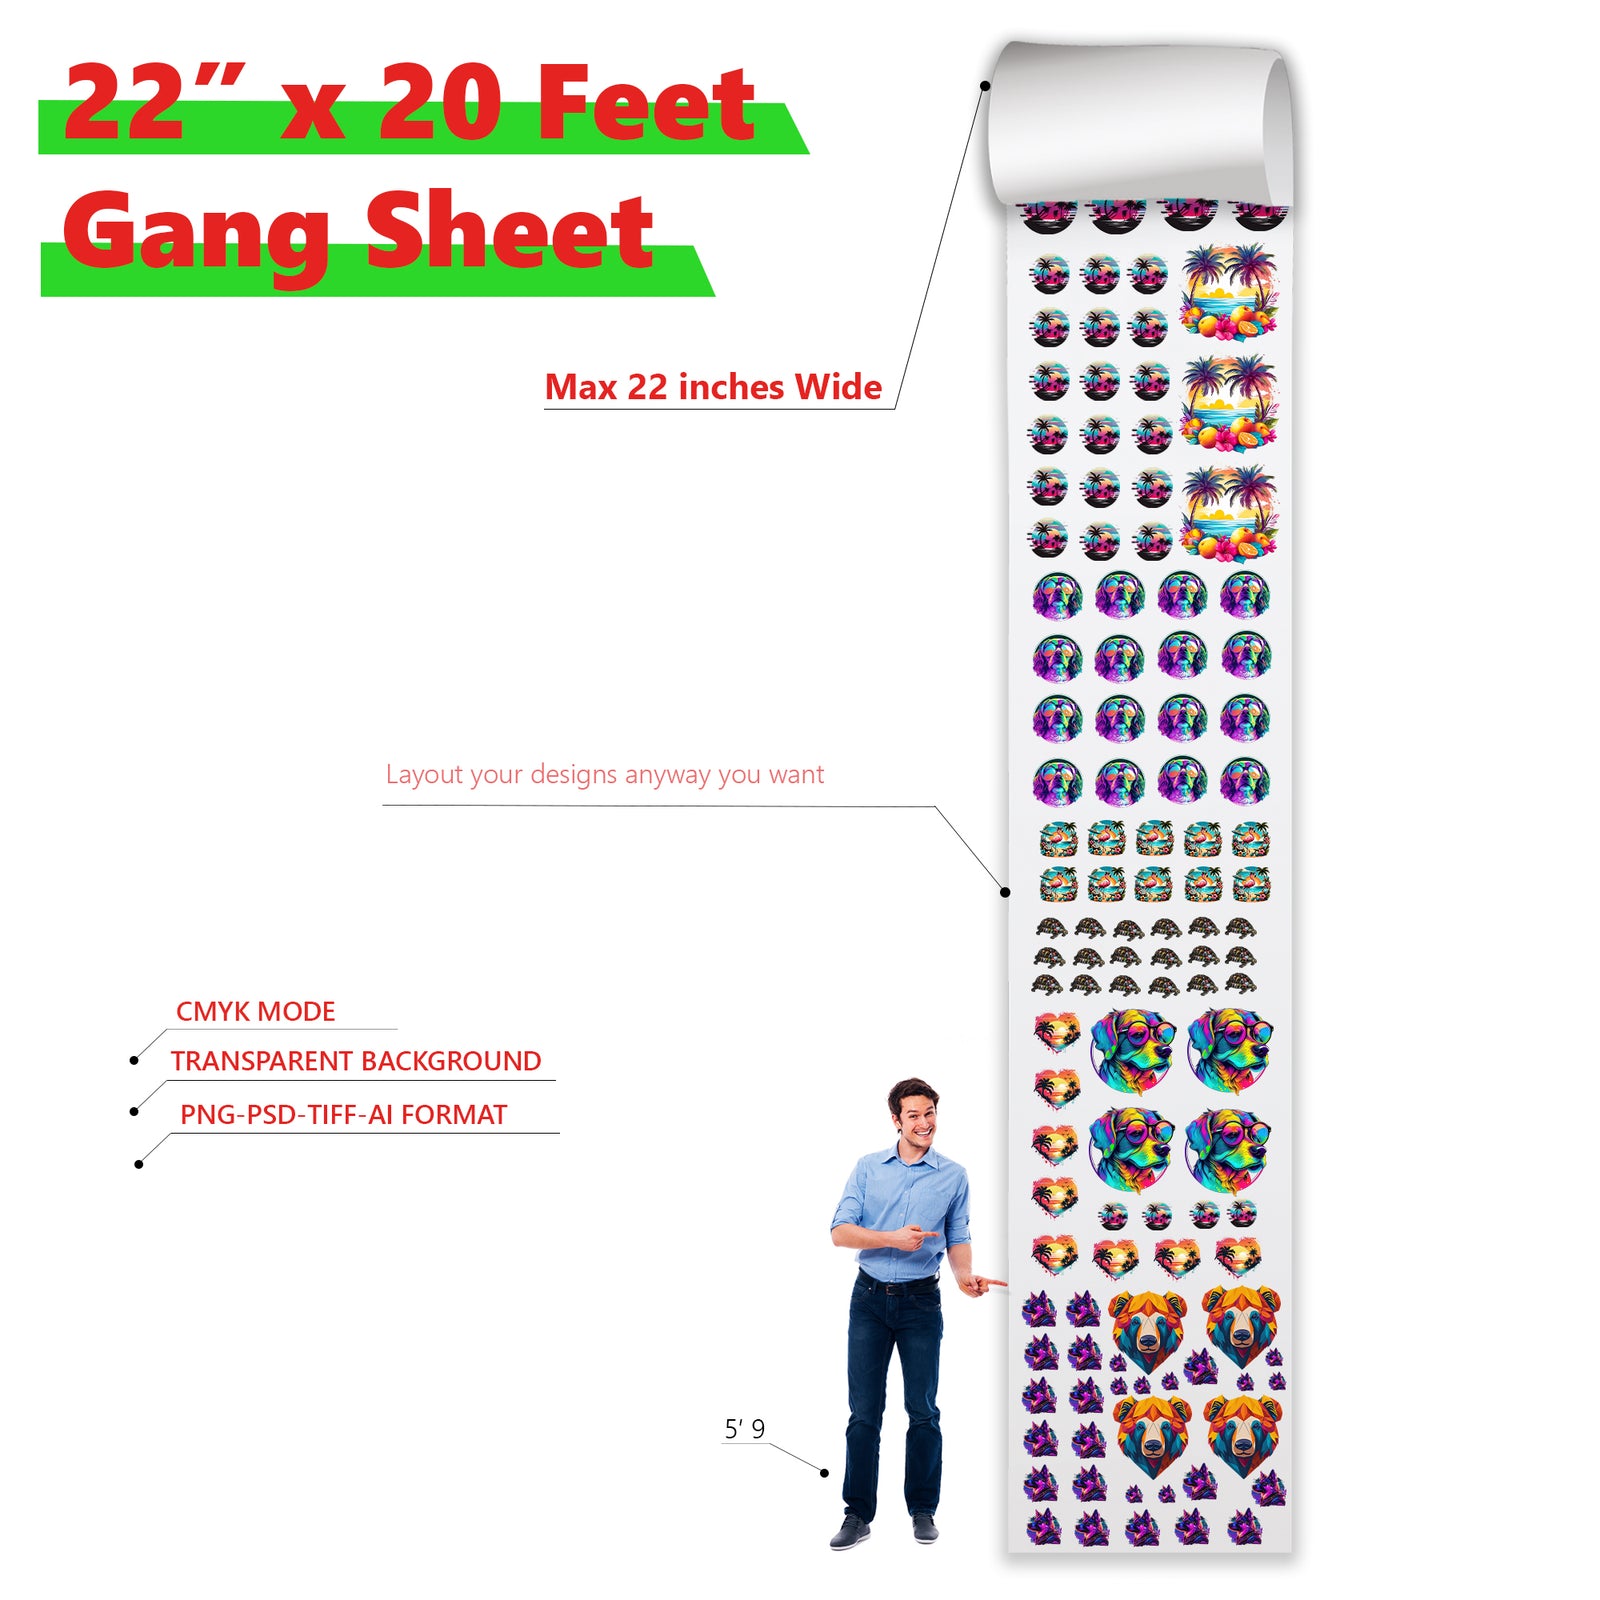
Before starting the gang sheet creation, set the page size. The maximum width should be 22 inches.
- Click on the "New Project" button.
- Select the page size, for example, 22 x 36 inches.
Important Reminders: Gang sheets should have a width of 22 inches.
Step 3: Uploading Designs
After setting the page size, upload your designs.
- Click the "Upload Files" button.
- Select and upload the designs from your computer.
Step 4: Arranging the Images
Arrange the uploaded designs on the sheet.
- Click the "Auto Arrange" button for automatic layout.
- If preferred, manually drag and drop the designs to arrange them.
Step 5: Preview and Edit
Preview and make necessary edits to your design.
- Click the "Preview" button to check your gang sheet layout.
- Return to the main screen to resize or reposition designs as needed.
Step 6: Saving and Downloading
Once your design is complete, save and download it.
- Click the "Save" button and choose the file format (JPEG, PNG, PDF).
- Click the "Download" button to get your file.
4. Recommended Design Sizes
When creating a gang sheet, you can use different design sizes. Here are some recommended sizes:
Adult T-Shirts:
- Pocket and Sleeve Designs: Width 3 to 6 inches
- Chest Designs: Width 9 to 13 inches
- Back Designs: Width 10 to 14 inches
Youth T-Shirts:
- Pocket and Sleeve Designs: Width 2.5 to 4 inches
- Chest Designs: Width 8 to 10 inches
- Back Designs: Width 10 to 12 inches
Children's T-Shirts:
- Pocket and Sleeve Designs: Width 2 to 4 inches
- Chest Designs: Width 6 to 8 inches
- Back Designs: Width 8 to 10 inches
5. Important Reminders
These sizes may vary based on the shirt size. For example, if you use 11 inches for M size, you can use 12 inches for 2XL. When adjusting the size of the design, generally, only the width should be considered. However, for designs that are longer, the width measurement should not be altered; only the height value should be adjusted using the values above.